First, I want to apologize to my viewers. I haven't been activate for awhile because I've been trying to get my life together, study MCATs, figuring out the multiple of things that comes with senior year. All my free time used to be sleep time, food time, or catch up with friends I hadnt seen for awhile due to my study time. But Im back and I've got tips and ideas on a new craft - Frosted Glass Bottles!!
 |
| First, remove the labels and any glue, dirt and debris from the painting surface. Hot water and soap and a scruby sponge, or try leaving peanut butter on the glue and wash it off after half an hour |
 |
| Second, find some designs for your stencil. You'll need to cut it out later, so don't find something complicated like a school crest. I made the mistake of using Howarts' crest for Huflepuff, and it took forEVER to figure out! But I don't think I'm going through with this bottle. |
 |
| On the desgins, you should plan what's being cut out, what's sprayed, and all |
 |
| Get friends' pictures, trace their silhouette, and cut it out |
 |
| Sometimes, you have areas that need to be cut out but are not connected to the edge. So, just use stickers. |
TIP 1: Use sticker paper from Michaels or something. I used paper, and when they didn't stick down, I glued it down. I used craft glue, but it didn't peel nicely, as you'll see later. Try using elmer's glue. (Disclaimer: I have not tried elmer's myself. it may or may not be better) For the yellow sticker part, I put masking tape on wax paper and traced it with an exacto knife. It works, but the hard part is peeling the "sticker" off the wax paper.
 |
| Third, proceed to cut out the design with an X-acto knife. I learned that a sewing kit knife works too, but it's hard on your fingers. In this pic, I forgot to add the words, so I printed it out, and traced it with a knife rather than with a pencil then re tracing with a knife to cut it out |
 |
| I used a receipt.. It came off alright. |
 |
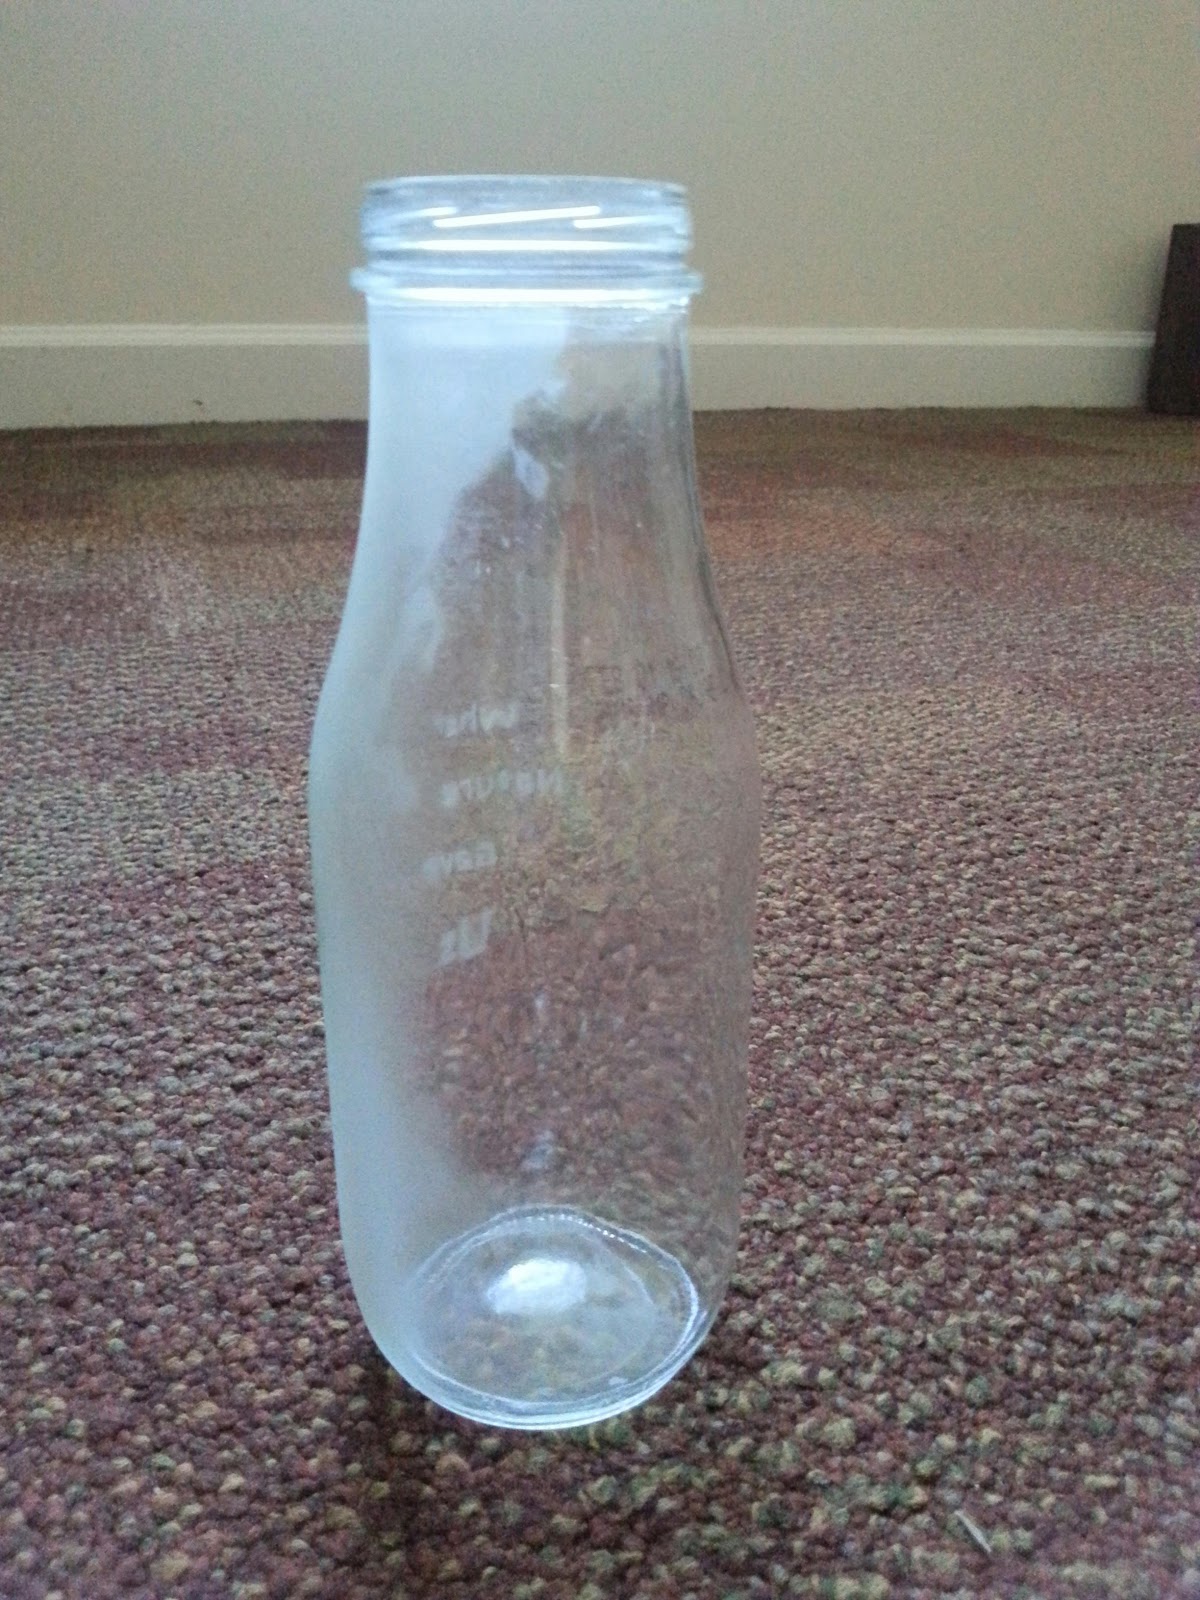
| Tea bottle, not a Starbucks bottle |
 |
| It helps to trace the outline of your painting surface for a size estimate. Then place it on your monitor and see if your image is the right size. Not trusting the virtual size will be the real size, I just traced the design on the screen and didn't bother printing it out. You could totally print it out, skip the tracing, and just X-acto knife it out. |
 |
| Now, I hope it goes without saying that what you decide to cover will be clear, while what is left empty is your spray area with the frost. I wanted a skyline with frosted buildings, and the first time, I cut out the sky and left the buildings on paper. I threw that out and re-did it so the stencil looks like this. |
 |
| Since there were straight edges, I used scotch tape to hold down this stencil, not glue. I'm done with glue. Plus tape comes off so much nicer |
 |
| It was a yoga stencil, but once I took a second glance at it, it looked like a sexual stripper. So I decided to put a simple word design to make it clear I wasn't promoting sex on my drinking bottle/vase/whatever this bottle would be used for. I don't know, It's a gift for a friend, and she can use it however she wants. Except if she wants to throw it out. Then I'd take the bottle back. |
 |
| There it is. Then I realized that may be sexual because of placement, so I ended up putting it in the curve of her back, as you can see later in the final product :) |
Next, Spray paint. I used Rust-oleum Frosted Glass Spray paint from
Homedepot. Now, the drying time was fairly quick and within minutes I could add my second coat. But here's where you need to be careful.
TIP 2: read the spray instructions! They say use in 50* - 70* weather, and I unknowingly used in 30* weather. This may have affected how well the paint sticks. Home Depot dude told me the paint was permanent but I found out later it came of with hot water.
TIP 3: even though it looks dry after a few minutes, the chemistry of paint adhesion to glass is still working underneath. DO NOT DISTURB the paint when it feels dry. You can hold it, but gently. I would not rub or tap it.
TIP 4: Spray multiple thin coats on, do not spray coats so thick it starts to run and look like water. These drippy spots will show up. So be sure to pray evenly, thinly, and overlap your sprays. It may help to spray at a further distance so all the paint isn't localized to one spot. It might've been because of these thick wet spots that my paper stencil go soaked, and started adhering to the glass, which was a pain to try and scrap off.
TIP 5: So, I didn't say, but When you put the stencil on, wait for the glue to dry before you spray paint. Also, don't overload on glue, as some may spill out the sides when you press it down, and these spills will show up on the final project if you don't wipe away the glue streaks and re-expose the glass surface.
Tip 6: Remember the bottom. If you want the bottom frosted, leave it up covered. Otherwise, use masking tape or something to cover it, because paint will get down here. I ended up frosting the bottoms to cover up the stray sprays that got down there. Use masking tape to cover ANYTHING that you don't want frosted.
Tip 7: think about the lip of the jar. Do you want that sprayed? If not, tape it. You can also just put the lid on when spraying. The good thing about this spray is that it's colorless, so spraying the lid won't ruin it
 |
| I think I used 3 coats... 4? I kept spraying, waiting, spraying, then compared to clear glass to see if it was thick enough to be bold and stand out. |
 |
| some area, I didn't glue down, so paint got underneath and my words got blurred. You should use stickers or something to hold down your finer edges, like in words, small details, or other stuff. |
 |
| This is what I meant by the paint came off. This lady used to have an arm. Now she's floating armless next to a cliff. Also if you noticed, the stencil said "Respect what nature...." But this says "What nature..." This is because I put the "Respect part on a curved area and glueing it didn't work, so I put tape over it. |
 |
| I faded the design in the back because it looks nicer and more professional this way. (BTW, this is my FAVE bottle!! It came out the best, aside from the arm falling off) |
 |
| Nope. Do NOT take the stencil off before it dries atleast an hour or so. I played it safe and waited 2 hours, though that's probably overload. |
 |
| The two buildings in the right should be separate, but I didn't think I needed to tape down the skyline, so This happened. |
 |
| Also note, If you're making a design that "rises from the bottom," don't have a cover piece come all the way down. It will look tacky like this one I made. I hope my friend doesn't mind, but hey, this is my first time, it's experimental, and hell, it's a free bottle, decorated by my hands! |
 |
| if you can tell, the edges are a bit uneven/smooth. maybe next time try the sticker paper from Michaels to see if it's better than paper stencils. Seriously, I'm so disappointed no one told me about the failures of paper stencils. |
 |
| This came out nice :) I'm happy |
Tip last: it's glass, so you can totally use an exacto knife or scissors to scrap of gluey stencil parts. Next time, I'm trying elmer's glue and sticker paper from Michael's and let's see if it works better


